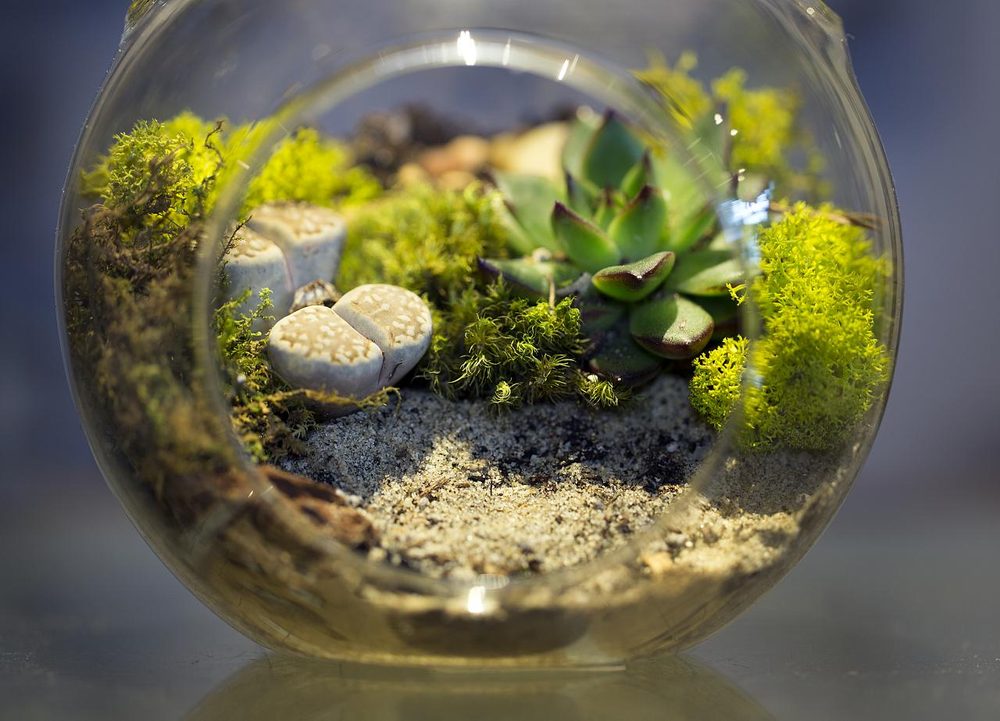
Imagine a terrarium you never have to clean, where a hidden workforce of microscopic bugs quietly recycles every fallen leaf and speck of mould back into healthy soil. That's the promise of going bioactive: a closed ecosystem so balanced it maintains itself for years. It's the fastest-growing corner of the terrarium world, and it's far more achievable than it sounds.
If you've never built a sealed terrarium before, start with our guide to making a closed terrarium for the fundamentals, a bioactive build takes those same layers and adds living cleanup crews on top.
What makes a terrarium "bioactive"?
A regular closed terrarium recycles water. A bioactive terrarium goes further and recycles waste using live microfauna to do the janitorial work. Add a cleanup crew to healthy soil, leaf litter, and plants, and you get a self-regulating loop: plants drop leaves, the crew eats the litter and mould, their droppings feed the plants. Set it up correctly and you rarely need to intervene at all.
Meet the cleanup crew
Springtails
These pinhead-sized detritivores are the workhorses of any bioactive setup. They devour mould and decaying matter, multiply quickly in humid conditions, and are the single most important addition for keeping mould in check.
Isopods
Tiny land crustaceans (think miniature pill bugs) that break down tougher material like leaf litter and wood. Beginner-friendly species such as dwarf white and dwarf purple isopods stay small, breed readily, and won't bother your plants.
What you'll need
- A sealable glass container Shop containers →
- Drainage layer leca Which to use →
- Activated charcoal Why it matters →
- Bioactive substrate (ABG-style mix) Shop substrate →
- Leaf litter & bark Shop leaf litter →
- Springtails (live culture) Shop springtails →
- Isopods (dwarf white or purple) Shop isopods →
- Plants & cushion moss Best picks →
Build it step by step
Drainage layer
Start with 3 cm of leca as a false bottom to hold excess water away from the substrate. Lay a piece of mesh or screen over the top to stop soil from washing down into the reservoir. See our guide to drainage layer materials for the options.
Charcoal & substrate
Add a thin scatter of activated charcoal then a deep layer of bioactive substrate, an ABG-style mix of bark, coco fibre, sphagnum, charcoal and tree-fern is ideal. It holds moisture, drains well, and gives the cleanup crew somewhere to live. Make it deep enough for roots and burrowing isopods (6–8 cm).
Hardscape & leaf litter
Arrange wood and stone for structure, then spread a layer of dried leaf litter (magnolia and oak are favourites) across the surface. This litter is both décor and food it's the fuel your isopods live on, and it gives springtails cover.
Plant & add moss
Plant humidity-loving species from largest to smallest, then carpet the bare soil with cushion or sheet moss. Choose plants that thrive in high humidity, our roundup of the best plants for closed terrariums applies here too, and moss care is worth a read.
Introduce the cleanup crew
Gently tip your springtail culture onto the moss and damp substrate, then scatter isopods among the leaf litter. Don't worry if you can't see them afterwards, they'll burrow in and get to work. Populations build over the following weeks.
Mist, seal & cycle
Lightly mist, seal the lid, and place in bright, indirect light. Now the most important step: be patient. Let the terrarium cycle for 4–8 weeks while the microfauna multiply and plants root in. Resist the urge to fuss with it.
Caring for a bioactive terrarium
Feeding the crew
In a planted, sealed terrarium the crew usually feeds itself on leaf litter and plant debris. If populations look low, add a small piece of leaf litter or a tiny scrap of vegetable. Don't overfeed, leftover food is what causes problems.
Humidity & light
Keep it humid and out of direct sun, just like any closed terrarium. Springtails and isopods both need consistent moisture; if the substrate dries out, the crew crashes. A light mist restores balance. For the full routine, see our terrarium care guide.
Common problems & quick fixes
- Persistent mould after a month: your springtail population is too small or the terrarium is too wet. Add more springtails and vent briefly.
- Isopods disappearing: usually too dry, or not enough leaf litter to eat. Raise humidity and top up the litter.
- Fungus gnats: a sign of overly wet substrate. Let it dry back slightly; a healthy springtail colony outcompetes them.
- Bad smell: something is rotting faster than the crew can process. Remove decaying matter and check your charcoal layer.
Design your build first
Use our free interactive Terrarium Builder to plan your layers, plants and cleanup crew, and get a personalised supply list.
Try the Terrarium Builder


Frequently asked questions
What is a cleanup crew?
A colony of tiny detritivores, usually springtails and isopods, that eat mould, decaying plant matter and waste, keeping the terrarium clean without you needing to intervene.
Do bioactive terrariums smell?
No. A balanced bioactive terrarium with a healthy cleanup crew and activated charcoal breaks down waste before it can rot, so it stays fresh and earthy.
Is white mould in a new build bad?
Usually not. A bloom of white mould is common in the first few weeks and is exactly what springtails eat. It typically disappears on its own.
How long until it's established?
Give it 4 to 8 weeks. During this cycling period the microfauna multiply and the plants root in, after which the system becomes largely self-sustaining.
Some links in this article are affiliate links. If you buy through them we may earn a small commission at no extra cost to you, it helps keep Terrarium Creations growing. We only recommend products we'd use ourselves.